I was asked by
el zorro if I was going to have ladders, or some other way, to reach the upper platforms. I said I was planning on them, so let's get started.
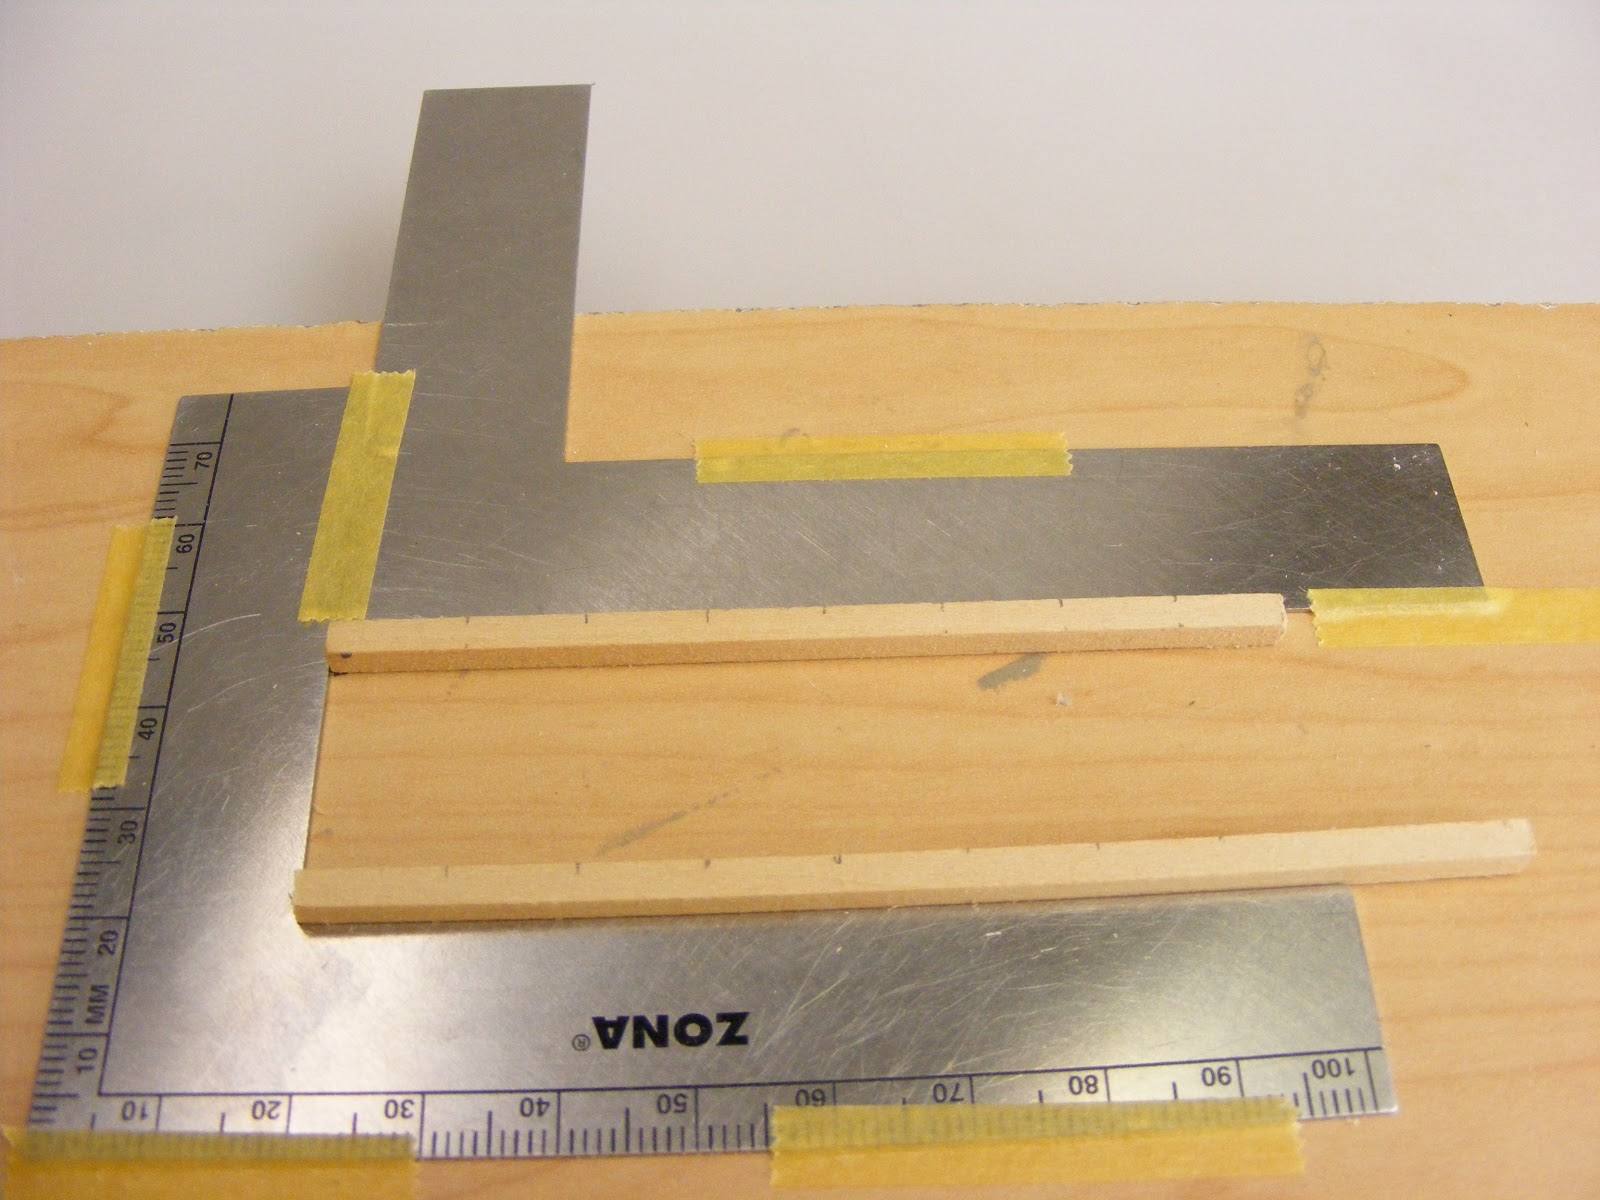
I actually have several plastic ladders from Games WorkShop WFB Siege Tower, but they weren't long enough. I also thought they were a bit narrow, so I gathered up some square wood stock. The uprights are 1/8" square, while the rungs are 1/16" toothpicks. I cut the uprights to fit the model, then played around with different arrangements until I found one I liked. I felt 20mm between the rails, and 10mm between the rungs looked best. To keep the uprights parallel, two angle squares were taped down, spaced for the 20mm width. You can see the faint pencil marks to locate the rungs, which are 30mm long, and were cut with the chopper I made. I used carpenter's yellow glue to hold them on. I had planned on drilling each intersection to hold a small brass
nail for extra strength, but I just couldn't see putting in another 30 minutes. I might poke a hole in each location, then
stain it with a Sharpie, to simulate the nail holes.
The finished ladders. The two long ones attach to the rear of both sides, allowing access to the upper rear platform, as well as both gangways. I doubled up the bottom rung, as the ladder hangs out in space. (You'll see in the next shot.) The short one goes from the right gangway to the upper front platform. As you can plainly see, the pencil marks were merely......suggestions.
The ladders in place. They were glued directly to the ram's framework with the carpenter's glue.
The more I thought about it, the more I liked the idea of metal cuffs on the Troll's wrists. Hammered out some more lead, then glued them on with CA.

You might wonder how I get these nice, shadow-less backgrounds. Here's how. Curved Plexiglas. I originally started with a piece of frosted plexi about 48" x 60". Using a propane torch, I heated the width, slowly softening it and allowing it to bend. I was left with a background that was 48" wide, 36" tall, and a 24" deep base. Even though it was already frosted, it still needed some work. The shooting surface was glossy and way too shiny. Fine grit sandpaper in the random orbit sander took care of the gloss, and also reduced worry about scratches. It was still too translucent. White spray paint on the complete under surface and curve, as well as a foot up the back took care of that, too. I made a movable table to hold it, with a light fixture above that held three 5000K, color-corrected fluorescent tubes. It was large, large enough for almost any model I might make. But in the end, it was too large, and took up too much space, and I dismantled it. The light fixture now is mounted above the workbench, giving nice, shadowless light. And careful maneuvering on the table saw turned one giant background into three. This small one is 8"wide x 9" high x 5" deep. The bottom one is now the largest at 24" wide x 22" high x 15" deep.


I did some more work on the Troll's poncho.
I'll try to get more done today. Thanks for looking. Don


No comments:
Post a Comment